
Are you looking for ways to program courses in Storyline 360 more quickly?
Maybe you have a tight deadline. Or maybe you’re new to Storyline and want to learn some best practices.
No matter what your reason is, the tips outlined in this article will help you work more efficiently in Storyline 360.
Get Organized
Interviewing SMEs, brainstorming a creative learning strategy, and putting everything together in a detailed storyboard is a lot of work! So when you finally receive your stakeholders’ stamp of approval, you may be eager to jump into programming. But it’s important to get yourself organized first.
Review the storyboard and design documents with a programmer’s mindset
Before you open Storyline, review your notes, storyboard, and design documents first. Take note of:
- What types of content slides do you need to create?
- What types of interaction slides do you need to create?
- Are quiz slides graded? Does the learner need to review the answers?
- Is there any advanced functionality, such as custom navigation or branching?
- Are there any gamification elements?
- How much text is on each screen? How will you balance text with other visuals and white space?
- Do you need any stock images and other pre-made assets, such as music?
- Do you need to create any custom assets, such as graphics or animated video?
- Is there a design template you can reference? Brand guidelines you need to follow?
- Are there any accessibility requirements, such as closed captioning and alt-text?
Answering these questions will help you form an efficient programming strategy. It’s also a great opportunity to ask additional questions about the content and align with stakeholders, so you can get things right the first time!
Use a clear folder structure and naming convention
This is a best practice for any project! Decide how you are going to organize your files. Where will photos, videos, and custom graphics be saved? Will source files be saved separately from modified versions? If there are multiple people on the project team, make sure everyone is saving files consistently and using a naming convention that you all understand. This saves a lot of time later on when you’re searching through hundreds of assets to find a specific one.
Set Up Your Project for Efficiency
When projects are small, updating each slide may not feel like a large task. But if you have to update all of the text boxes or background colors on a project with dozens of slides, suddenly a simple task has turned into an hour’s worth of work! Plan ahead and set up your project so you only have to update common objects once by using the design and layout tools available in Storyline 360.
Note: This article assumes that you have some familiarity with Storyline 360. If you’re new to Storyline, you may not use or understand all of the recommendations listed here right away. Go explore them! Learning about slide and master layers, global design systems, organization techniques, and time-saving tips will help you build good programming habits early. Most of these tips are also good practices for working with other eLearning authoring tools, such as Adobe Captivate and PowerPoint!
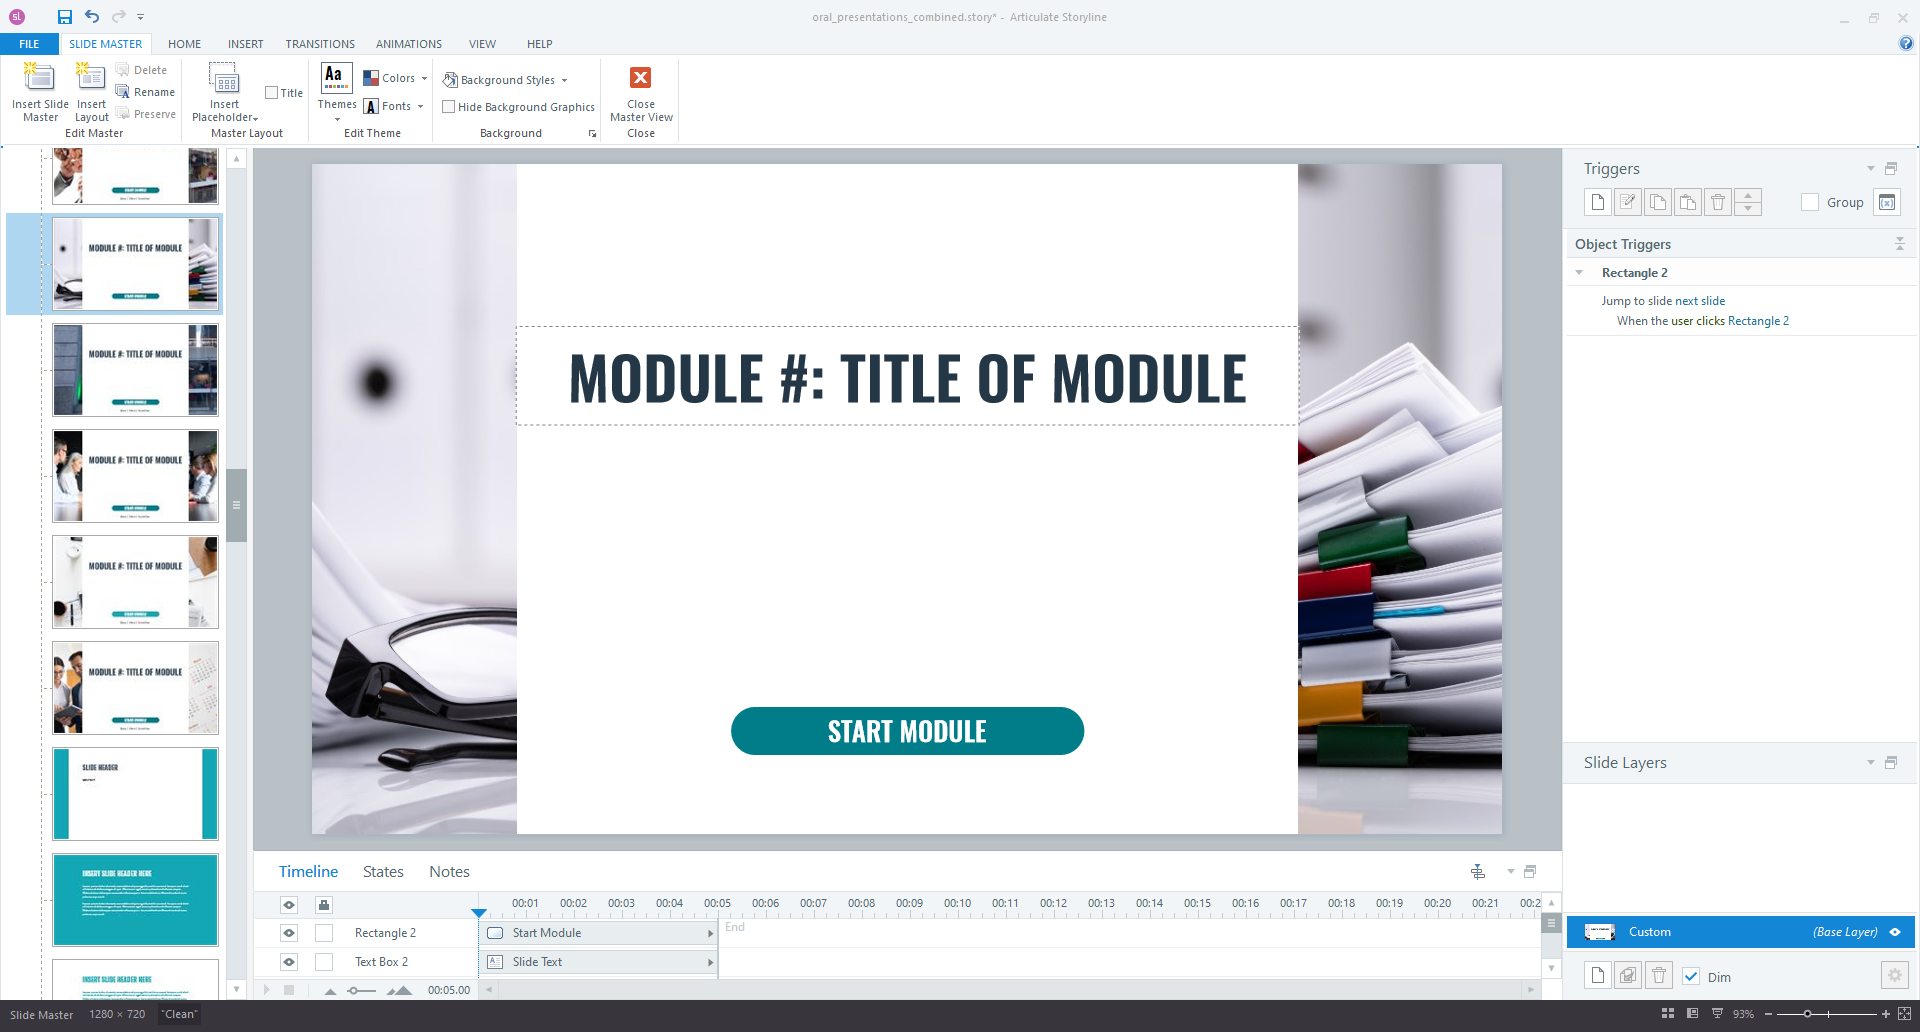
Use slide and layer masters
If you reviewed your storyboard and design documents carefully, you should have an idea of the types of slide layouts you need. Chances are you’ll have a few that are used repeatedly throughout the course. Turn these layouts into slide or layer masters! Master slides allow you to repeat design elements and triggers on any base slide or slide layer that you apply the master to. If you’ve already started building your course or are unsure what layouts you need, look for repetitive design elements such as backgrounds, headers, logos, or watermarks, and add them to a master slide. Now you can update multiple slides in one place!
Use global systems for fonts and colors
Applying fonts and colors consistently helps learners understand your content. When possible, it’s a good practice to use type hierarchy settings like heading levels and body text or build custom styles. Avoid updating every text box or shape individually by setting your font families and colors in the global settings. If you need to update a color or font later, you can change it in the color palette/font styles and it will automatically update every instance of that color/font style. This saves time and reduces errors later on if you have to change a font or color that appears throughout the course.

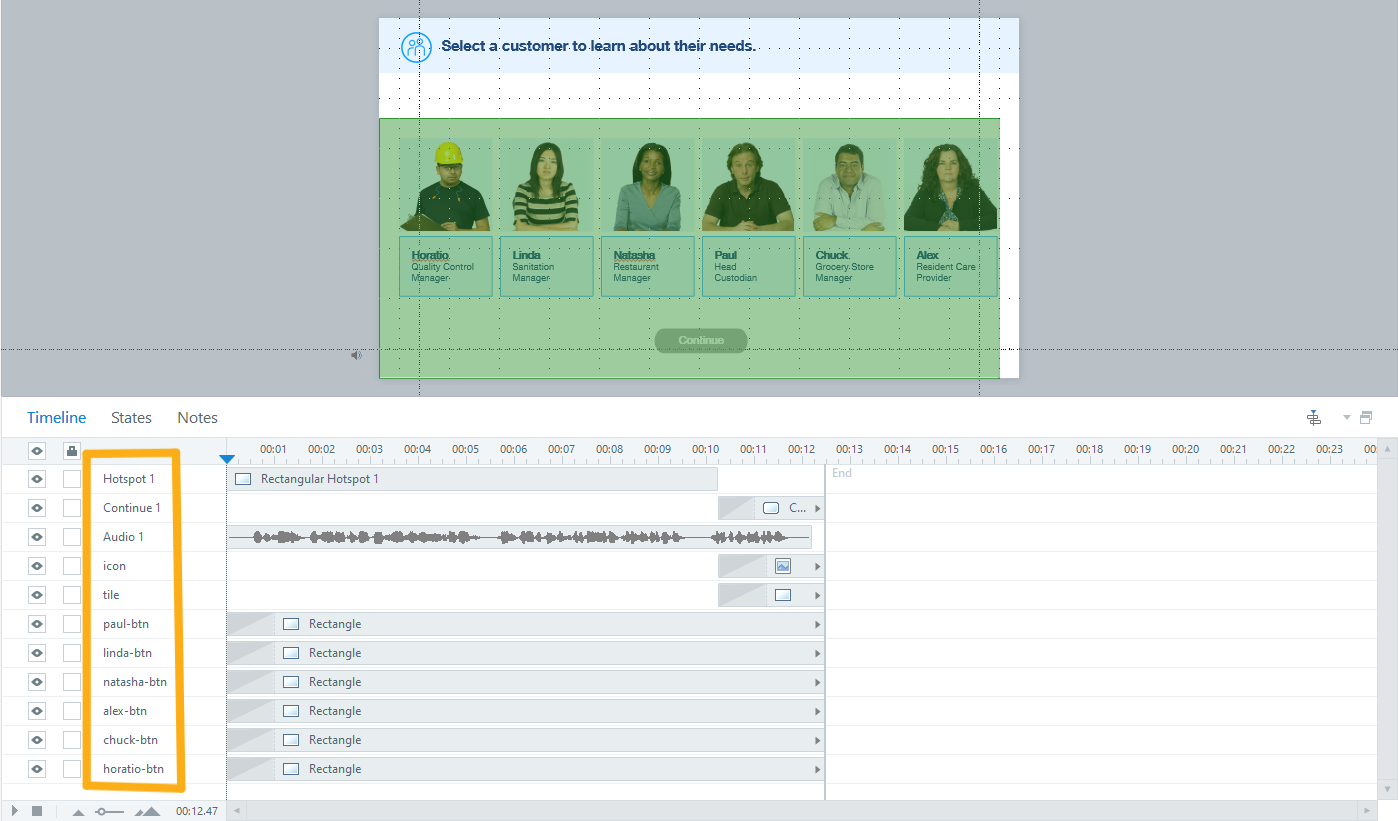
Add descriptive labels to objects and variables
You’ve set yourself up to be organized, now keep it that way! As you work, remember to label shapes, images, audio, slides, text boxes, variables, buttons, etc. as soon as you create them, so that you can identify everything quickly. It might not feel like you’re saving time, but staying organized will speed up later revisions. It’s also extremely helpful if you need to pass your project files onto another developer or update the project months or years later.
Speed Up the Building Process
Many actions take only seconds to complete, but when you do them hundreds of times, they add up. Here are some shortcuts and best practices to help you work more quickly.
Use shortcuts to duplicate objects
Copying and pasting isn’t the only way to duplicate things in Storyline. Here are a few other options and why you might want to use them instead of the standard copy/paste.
- Select an object and press Ctrl + D to duplicate it – this achieves the same result as Copy/Paste with one less keystroke!
- Select an object, hold Ctrl, and drag it to create a copy – this makes aligning several objects easier.
- When pasting, choose “Paste Special” – this applies an object’s duration, start time, animations, and triggers to the copy.
Tip: Make sure all of the states have been created before you duplicate, so you only have to create them once.
Insert images and videos at 100% display size
When you insert pictures and videos into Storyline, make sure they are imported at exactly the size you need to display them. For example, if you’re inserting a background image and your content area is 1280 x 720, the image you insert should also be 1280 x 720. Inserting a smaller or larger version of the image means you have to crop or resize it in Storyline. This adds extra steps, reduces quality, and if the image is larger, increases file size.
In addition to increasing the file size of the course, larger assets also increase publish time and reduce overall performance. This is more noticeable with high-quality photos and stock images, which are often thousands of pixels wide/tall. So, only insert files as big as you need them!
One exception—if you anticipate that the course will be scaled up to fill a browser window or larger screen, you can insert images and videos that are slightly larger to accommodate the scaling.
Use AI-generated text and audio for rough edits
If narration is likely to change, but design and functionality will stay the same, you can get a head start by timing text and graphics to AI-generated audio. Just select Insert > Audio > From Text to Speech. Storyline also includes a lorem ipsum text generator. Type =Lorem() in a text box and Storyline will automatically generate text to fill the space.
Animate multiple lines of text as one object
Groups of bullet points or lines of text that will be animated and formatted the same way should be kept in a single text box. This makes formatting and positioning changes much faster than updating each bullet individually. If you need to sync bullet points to narration, use the “By Paragraph” entrance animation setting.
This method is also better for 508/WCAG standards. When bullet points are all in the same text box, screen readers announce the group as a list before reading each of the list items. This gives visually-impaired learners the same context as sighted learners. If the bullets are in separate text boxes, the screen reader will either not announce that there is a list, or it will announce each bullet as a separate list. This can be very confusing and frustrating for learners using a screen reader!
Use pre-made slides, interactions, and assets
Whenever you can, save yourself time and effort by using the pre-built slides, questions, buttons, and other assets within Storyline 360’s Content Library 360. It’s a great starting point and includes a variety of slide templates and assets for your projects.
- Slide templates – These are pre-designed and pre-programmed slides that you can customize as needed or simply browse through the list for ideas.
- Characters – These are images of a diverse selection of people that you can customize with different poses and facial expressions.
- Stock photos, illustrations, and videos – This is a huge library of stock assets that you can insert directly into your project.
- Shapes and icons – These are basic shapes and pre-built freeform, or custom, shapes that you can modify quickly and easily in Storyline.
- Buttons – These are styled shapes with pre-made states like hover, selected, and visited that you can customize.
- Freeform question slides – These question slide templates provide more customization and flexibility compared to other template question slides. They are easy to update and are better for accessibility compared to custom-made interactions.
- Question banks – These give you more control over question slides like ordering and grouping. You can also easily assign an entire group to a results slide rather than selecting individual slides. Overall, question banks create a better production experience if you have lots of question slides.
Don’t repeat yourself
Variables store information, and this information can change based on conditions you set in the course. When working with triggers and variables, remember the acronym, DRY, which stands for Don’t Repeat Yourself. For example, you could create the variable “slide_num” and set the value equal to the current slide number instead of manually adding a number to each slide. As the slide number changes, the value of “slide_num” also changes. Other good uses for variables are tracking completion of scenario branches and displaying feedback for questions that have more than one correct answer. No matter how you use them, it’s critical to make sure variable names are unique and descriptive, but short. For example, change the automatically-named “Slider 1” to something like “s15_slider” for screen 15 slider, or “q5_slider” for question five slider.
Implement Revisions Efficiently
Revisions are an inevitable part of development. Use these tips to work more efficiently and turn around updated projects faster.
Use the format and animation painters
If you’ve already created several objects and need to make the same changes to each one, you can save time by updating one object and then use the format painter tool to apply the changes to the other objects with just a few clicks. The format painter can update font type, size, color, and states with a single click! You can do the same with shapes (although it will not update the size). There is also an animation painter, so you can quickly apply the same entrance and exit animations to multiple objects.
Use the Media Library
Storyline 360’s Media Library lets you see all of the images, audio, and videos in your project. It also displays basic information about each asset such as the dimensions and number of times it appears in the course. You can also quickly update alt. text, edit images, insert and edit audio captions, and replace files in the Media Library window. Images can even be modified with round-trip editing. This means you can open your preferred image-editing software, make your changes, hit ‘save,’ and the changes will be reflected in Storyline immediately – no need to export and re-import the updated image!
Use the Find/Replace tool
Quickly replace most instances of a word or font in your project. This will update base slides, slide layers, states, and notes, but it will not update text in the player (menu items, player tabs, or buttons) or captions. If you didn’t set font families early on (as suggested at the beginning of this article), you can still use Find/Replace Fonts to quickly change a font throughout the course. Again, this won’t update text in the player or captions, only text on slides and in notes.
Go the Extra Mile
Create a library of template slides
If you find yourself creating a lot of the same types of interactions or slide layouts for different courses, create Storyline Template files filled with slides that you can import into new courses. This involves some work up front, but in the long run, you will save time creating future courses.
Conclusion
Working more efficiently is always a good idea. It reduces your programming time and costs and it can save you time later on by reducing errors and simplifying revisions. Remember:
- Organize your source documents and files before programming
- Set up your project with slide masters, global systems, and labels for assets
- Work quickly with pre-built assets, shortcut keys, and practices that reduce file size and unnecessary repetition
- Make updates efficiently with Storyline 360’s Media Library, the Find/Replace tool, and the format painter
And don’t be afraid to experiment! Try different techniques and read up on other methods that exist to save time when you’re building your next course.
